 Understanding how to take good pictures outside is not the same as shooting indoors. It’s much easier to control the environment when you’re inside your studio or within some other confined space.
Outdoors is a whole other world when it comes to lighting for photography. There are many factors to think about and different tricks you need to use to get the right shot. To get better at taking photos in such conditions, use the following lighting tips for shooting outdoors.
- Pay Attention to the Time of Day
The number one rule of outdoor photography lighting techniques is to pay attention to where the sun is during the day.
Framing the sun behind your subject in the middle of the day, for example, casts a shadow over what you’re trying to capture. It’s usually best to face the sun if you want good lighting.
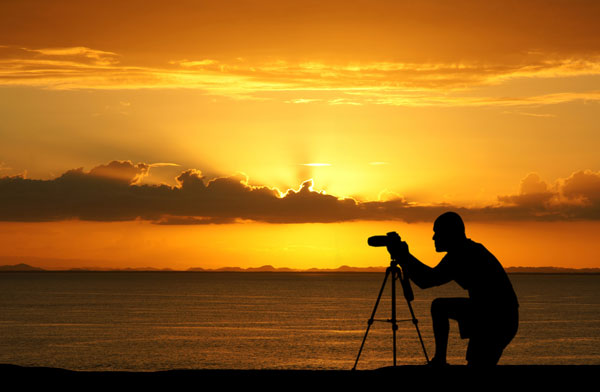
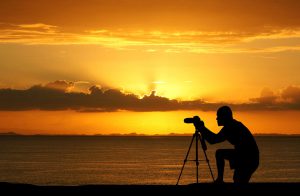
The only exception to the time of day rule, however, is during sunrise and sunset. At these times of day, it can be beneficial to play with the sun as a backlight and taking advantage of the low light around you.
- Level the Horizon
Regardless of where the sun is positioned, you have to make sure the horizon is level. There’s nothing like getting “the perfect shot” only to realize it was taken at a tilt.
That takes away from your audiences overall experience and can be distracting. It keeps the photo from being as powerful as it can be and it shows a bit of carelessness on your end, too.
- Try Long Exposure
If you really want to “wow” your clients (or generate more projects), play with long exposure. This is a trick that many photographers keep in their back pocket.
Long exposure creates movement. It adds texture to the way the light touches the earth around you and how this gets portrayed in a photo. With this feature, you can catch the flow of the wind or the rocking of the waves. You can make others see how a waterfall crashes or how flowers sway.
- Know Your Preferred Filters and Settings
Another useful tip is to have a go-to set of filters and settings.
An outdoor photo may seem like a throwaway until you get back to the editing room and fix it up a bit. However, you’ll waste a significant amount of time if you start the editing process from scratch every single time.
Not to mention, you should be taking the photos in a standard arrangement of settings, to begin with. This creates consistency in your work and helps you establish your personal brand as a photographer.
- Find the Right Lens
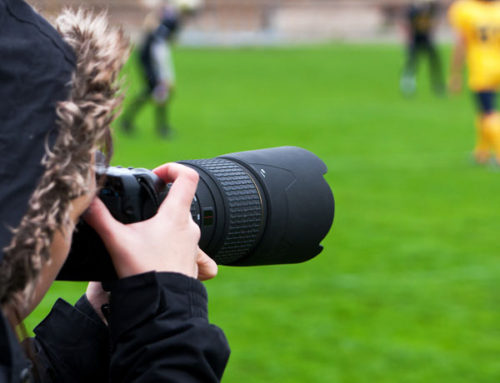
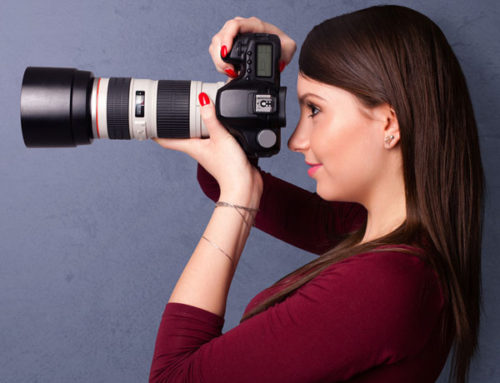
Last but not least, make sure your camera lens is made to perform outdoors. The same technology you use for wedding parties and portrait work may not cut it when you take things outside.
In some cases, a lens is diverse enough to do it all. Nevertheless, make sure you have what you need before you try different lighting settings outside.
Apply These Photography Lighting Tips for Shooting Outdoors
Whether you’re going on a hike through the mountains or you want to get a few shots of the sunset on the beach, there’s a certain way of taking photos outside that’s distinct from other kinds of photography.
Use these lighting tips for shooting outdoors to help you get the hang of things. Then, experiment with new tools and various angles to create something spectacular.
For more photo-taking tips and tricks, click here.
MorePhotos offers online solutions that include professional websites and a powerful e-commerce shopping cart. With our friendly and knowledgeable staff, we can assist you in creating an online presence that will attract traffic to your photography website.

